Sorry for not posting much this week. It's been crazy. Had my birthday and then I'm working a lot babysitting for a missions conference at my church and that along with my homework and classes... It's just been very busy. What I will try to get done this week is a recipe for some halloween themed treat. Haven't decided which one yet. And I think I'll be doing a process of drawing that I use tutorial. That's all I can promise because later this week I have a pumkin carving party, photo shoot, halloween parade and family bday party and also along with homework and classes. Thanks for sticking around and being patient :)
If you'd like to know what is going on with me you can follow me on twitter. I'm semi active on that =D And I will be tweeting about what is coming up on the blog =D
Twitter:
https://twitter.com/GiselleColon1
Tuesday, October 23, 2012
Saturday, October 20, 2012
diy Henna Tattoo
I've heard a whole lot of diy Henna tattoos and so I decided to try one out for once. This one I found online but I did my own editing to it to make it last even longer possibly. I'll have to update this one later on to say how long it really did last on me.
Materials:
Draw your design on your skin after making sure it is clean.
STEP TWO:
Follow the directions on how to put on the liquid bandage.
And you're done :)
Materials:
- Waterproof Mascara or Eye Liner or Lip Stain Pencil
- Waterproof Liquid Bandage Spray
Draw your design on your skin after making sure it is clean.
STEP TWO:
Follow the directions on how to put on the liquid bandage.
And you're done :)
Tuesday, October 16, 2012
My fall break photos
Here are some photos I took at Universal and Disney World. I still am adding to it on my facebook page (http://www.facebook.com/pages/Raine-Creations/175070595888341) So if you'd like to see more go like my page and follow up =D


Monday, October 15, 2012
Slow Start
So I just got back from my fall break and trying to remember what my routine is. Getting back into the swing of things in the next week or two.
Tuesday, October 9, 2012
Fall Break!
From today onto October 14 I will not be posting as I will be having my fall break and fully relaxing. Have a great rest of the week =D
Sunday, October 7, 2012
Knit Hood Scarf with Pockets
This pattern is my own, it's a simple cabled pattern. If you need clarification on the pattern please comment.
MATERIALS:
KEY:
MATERIALS:
- Yarn
- Knitting needle 10mm
- Sewing Machine (or you can hand sew with the yarn)
KEY:
- cnf- cable needle hold in front
- cnb- cable needle hold in back
- lf- left needle
- Row 1(RS): k4, p4, k6, p4, k4.
- Row 2: p4, k4, p6, k4, p4.
- Row 3: k4, p4, k6, p4, k4.
- Row 4: p4, k4, p6, k4, p4.
- Row 5: k4, p4, slip 3 sts to cnf, k3 from ln, slip sts from cn onto ln then k3, p4, k4
- Row 6: p4, k4, p6, k4, p4
- Repeat steps 1-6 until you reach desired length.
- When finished fold the work in half so that the right sides are facing each other. Sew one side of the work together to make a hood.
- If you would like to make pockets for your hands at the ends of the scarf use a the same type of method. Fold the ends so that the right sides are facing each other and sew the sides together to make pockets.
Cute little pug
I was going through some old messages me and Evan had and I found this little guy
http://i.imgur.com/SQ3gD.jpg
Hope you guys have a good week! I'm so ready for fall break!!
http://i.imgur.com/SQ3gD.jpg
Hope you guys have a good week! I'm so ready for fall break!!
Friday, October 5, 2012
Makeup pictures
I just decided to do my makeup today. I wanted to feel all pretty for no real reason. That's always the best reason. =D


Thursday, October 4, 2012
P.O.D.
So I love this band. Especially in love with this song and music video. What do you think? Good night all.
Breakfast is Important
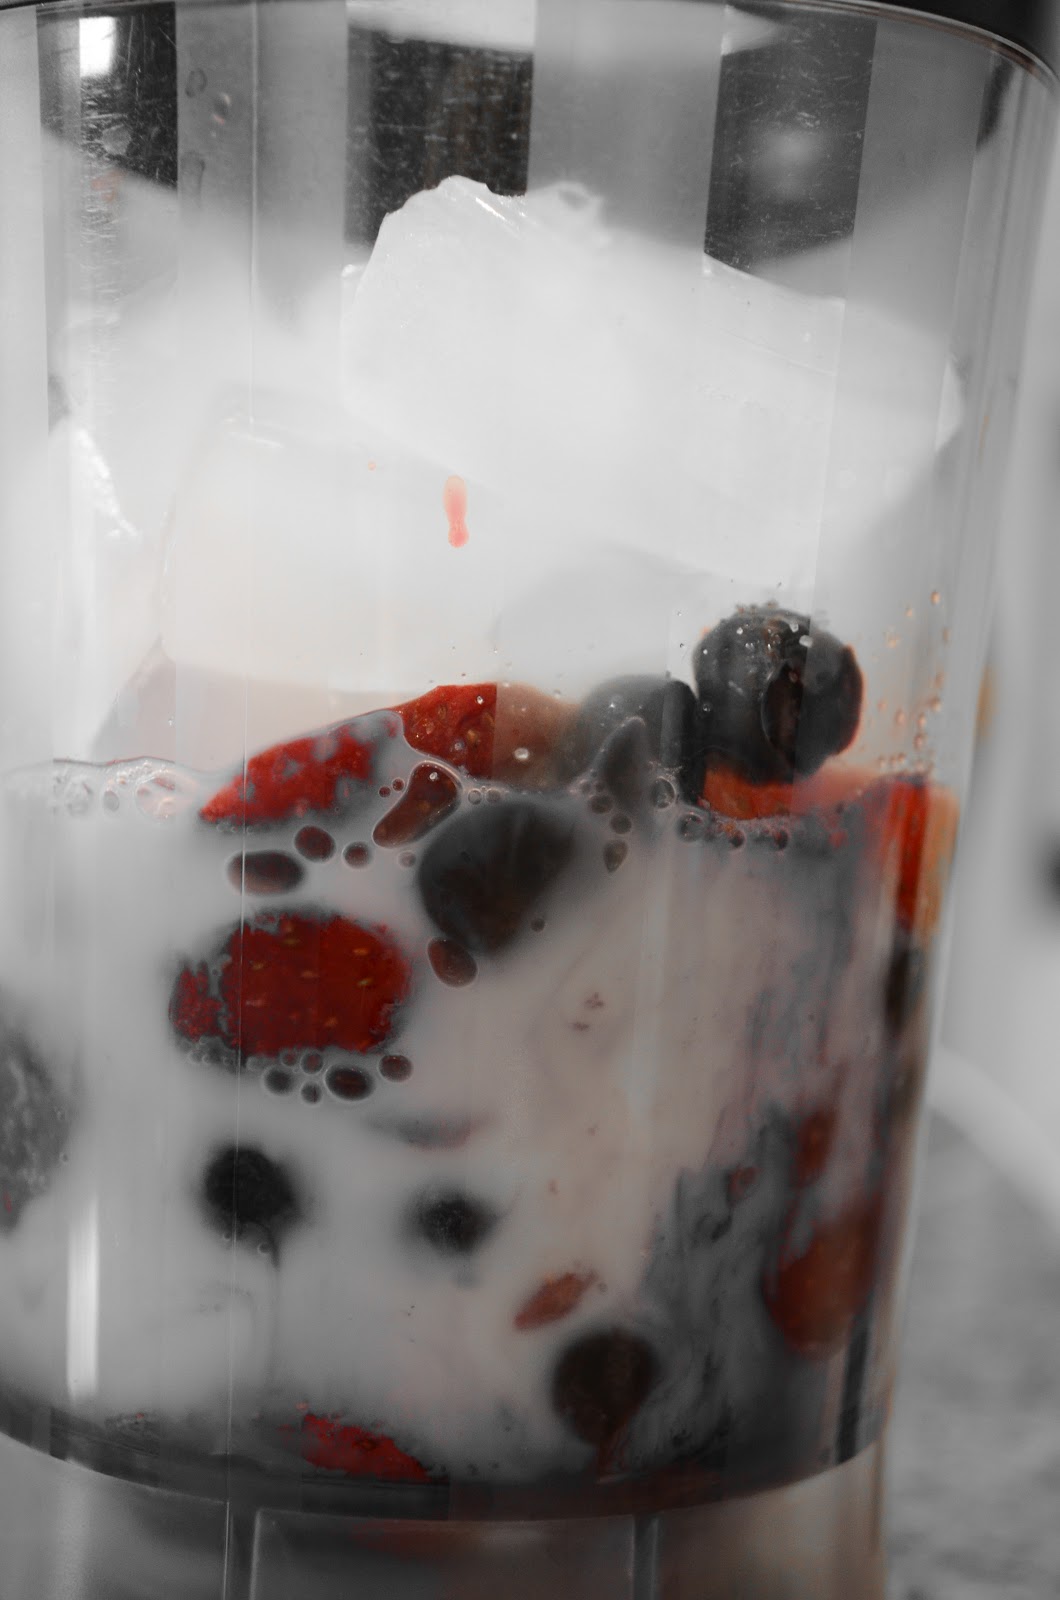
It is very important and I need to start eating better so I decided to share my smoothie recipe with all of you. It is really easy and delicious.
Ingredients:
STEP ONE:
Get your bags of frozen fruit and place in bowl. I microwave it for 45 seconds.


STEP TWO:
Once microwaved place int the blender. Put in some milk and a dash of sugar. I place some ice-cubes in mine so that it stays cold.

STEP THREE:
Place in blender and blend. Then enjoy. It's really easy and really delicious and can be done with your favorite fruits.


Ingredients:
- Milk
- Frozen Fruit
- Microwave
- Blender
- Ice
- Sugar
STEP ONE:
Get your bags of frozen fruit and place in bowl. I microwave it for 45 seconds.


STEP TWO:
Once microwaved place int the blender. Put in some milk and a dash of sugar. I place some ice-cubes in mine so that it stays cold.
STEP THREE:
Place in blender and blend. Then enjoy. It's really easy and really delicious and can be done with your favorite fruits.


Wednesday, October 3, 2012
DSLR Camera Tutorial (ISO)
Today we will be talking about ISO which is the camera's sensitivity to light. A high ISO means lots of light coming into the camera and a low ISO means very little. For example when I'm taking pictures outside I use an ISO usually of 400. I do this because I know when I use film 400 is a good speed of film to have. The same is for a digital you just get a whole lot more range more easily. If I'm taking a picture where I want the background to be totally black but the subjects to be showing I'll use a ISO of 3200 or so. You really just have to play around with it and see how it works with different settings but once you master when and how to use the ISO properly your pictures will be amazing after all the other things you've learned from these tutorials.
Homework:
Play around with all the ISO measurements and take 5 pictures that you feel are good with each one.
Next Week:
Learning how to use the exposure triangle together. (Shutter Speed, ISO, and Aperture)
Last Weeks Homework (Aperture):


Homework:
Play around with all the ISO measurements and take 5 pictures that you feel are good with each one.
Next Week:
Learning how to use the exposure triangle together. (Shutter Speed, ISO, and Aperture)
Last Weeks Homework (Aperture):


Monday, October 1, 2012
Pumpkin Decorating
It's my favorite time of year. Fall. Halloween. My birthday. All these things are amazing. And I got to decorate my first pumpkin yesterday. I don't have a picture of the finished project but here are some steps to it. I hope this inspires someone =D
Oh and by the way the watercolors that I tried to use didn't really work out. And I didn't get to use the white paint cause it was all chunky.


Oh and by the way the watercolors that I tried to use didn't really work out. And I didn't get to use the white paint cause it was all chunky.


Subscribe to:
Comments (Atom)