I know this is a fabric chandelier but you can also do it with fringe and it is super cute but since I was on a budget I just used some leftover fabric that I had at home already.
Supplies you will need:
- 2 embroidery hoops of different sizes. I used an 10'' and 5'' got them at Hobby Lobby and it was just a few bucks for both of them
- Hot glue
- Fabric/Fringe
- Some string to tie the hoops together preferably in the same color scheme as your fabric or fringe
- Feathers/Paint/Lace (optional)
- Scissors
- Some paper plates
- A jar or something
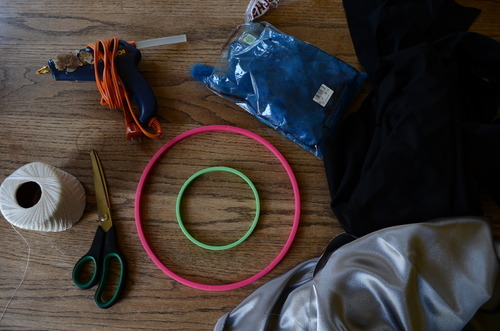
If you don't want the wood or colorful part to show on your chandelier I suggest painting it or put lace over it or do like I will do later and put some cheap feathers over it. But also the fabric hides it pretty well on its own.
STEP ONE:
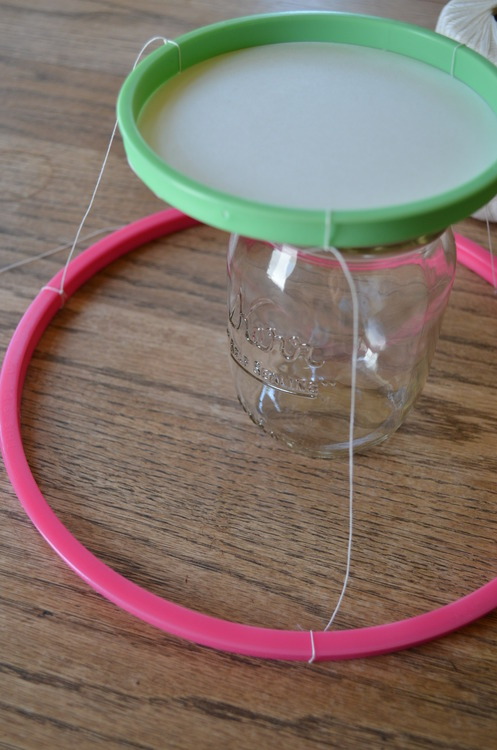
Get your jar and place the smaller ring on top of it. If it doesn't fit then cut a paper plate to about the same size as the small ring. After that tie your string from one hoop to the other making them as close to the same size as possible when tied and everything. You'll end up with something like this:
STEP TWO:
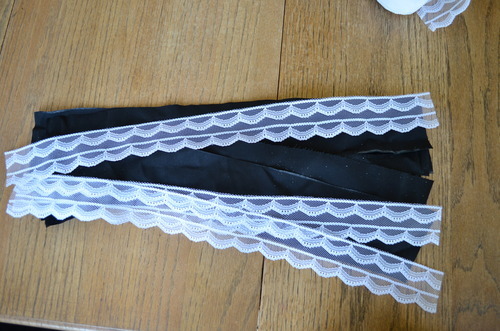
Cut out your fabric strips. I did mine about one inch wide and 15 inches long for the first tier and then one inch wide and 20 inches long for the second tier. They don't have to be perfect. You could also use lace strands on top of your colored ones but be careful of the hot clue going through the holes.
STEP THREE:
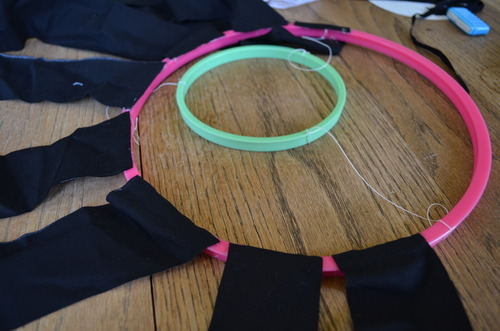
Place hot glue on top of the embroidery ring and press on the fabric strips until the glue cools down. I left gaps in mine and put the silver strands in between them.
STEP FOUR:
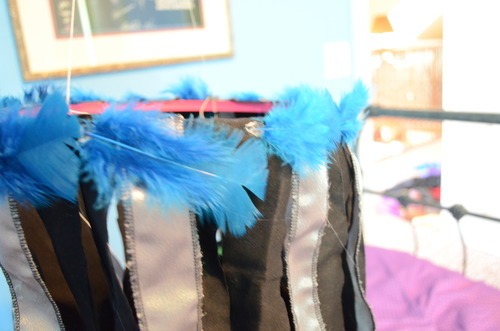
After you have all the fabric that you desire on BOTH rings then you can decorate with the feathers or lace if you choose otherwise skip this step. I just put a drop of hot glue and pressed the feathers down on it until it cooled and went all away around the hoop like this.
STEP FIVE:
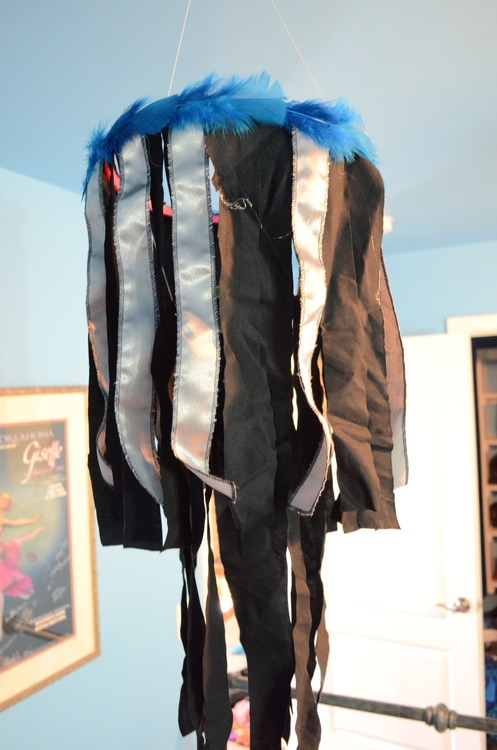
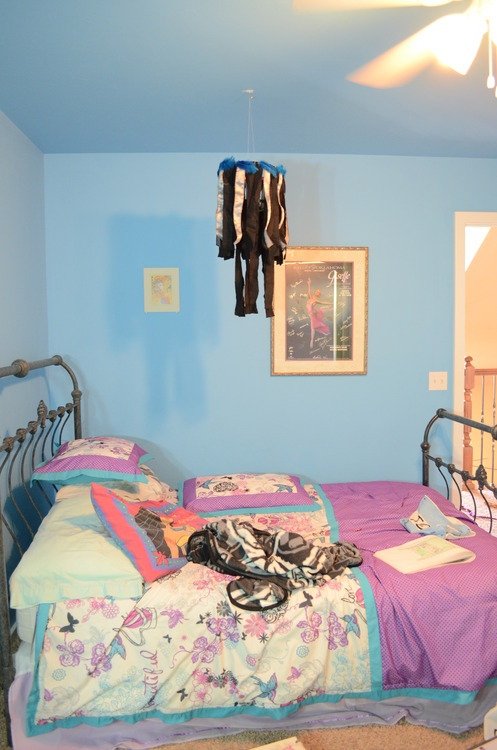
Now find a place in between the fabric to tie a string onto the top (bigger) ring and tie another knot on the other side this will make a place to hang the chandelier and now you are done. Here is my finished product.
No comments:
Post a Comment