Thursday, September 27, 2012

Fudge

This is a fast and easy recipe. (http://ideasmag.co.za/food-entertaining/step-by-step-fudge/)

Sorry for not having pictures. Right now my computer is wigging out about not having space so I need to get a flash drive just for my pictures.

Ingredients:

  • (125 ml or 8.5 tbs) Butter
  • (15 ml or 1 tbs)Syrup
  • (30 ml or 2 tbs)Milk
  • (15 ml or 1 tbs)Water
  • Saucepan
  • (1 can)Condensed Milk
  • (750 ml or 3 cups)Sugar
  • (5 ml or 1 tsp)Vanilla Essence
  • Pinch of Cream of Tartar
STEP ONE:

Melt the butter, syrup, milk and water together in a heavy based saucepan. Remove the saucepan from the heat and add the sugar. Return to the heat and bring to boil. Boil for five minutes while constantly stirring.

STEP TWO:

Remove from the heat and leave the mixture to cool for a couple minutes (it should be a light caramel color). Pour the condensed milk into the mixture in a steady stream while stirring.

STEP THREE:

Return to heat and cook over a low heat for 15 minutes. Stir continuously to prevent the mixture catching fire.

STEP FOUR:

The mixture is ready when it is very firm. Stir the vanilla and cream of tartar into the mixture. Now pour the fudge into a greased pan (7X7 in) and leave till it sets. Cut into squares. Leave to set before removing. Store in and airtight container.

Wednesday, September 26, 2012

Ah the lovely rain

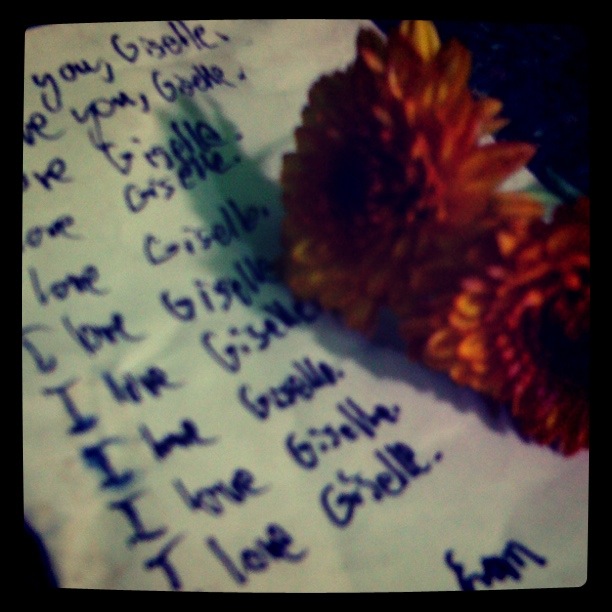
It's raining here in Edmond, OK so I took the time to go out and try and get some long exposure shots. They came out pretty well. Today has been a good day. I had Health class where I now have to figure out how well I eat (I can already tell you it isn't well, hopefully I'll be more conscious now though since I'm using the choosemyplate.gov) then Discrete Structures where we just went over the test we took Monday. And finally got to spend some relaxing picture taking time with my man. It was much needed after how busy this week has been. Then I went to my other class Programming II and when I got back to my car I found a note (below) and he gave me some flowers a little later. I'm so lucky and happy. I hope I sleep well tonight. How was your day? Good night.


YouTube video of the rain and thunder:

DSLR Camera Tutorial (Shutter Speed)

With Aperture (from last week) you figure out how to keep subjects in focus or out of focus. But with Shutter Speed you learn how to make blur or not. It regulates how fast the picture is taken. And if left open for long periods you can get really awesome photos. But with this you also need to control how much light is coming in. I don't have much else to say about it but to just go out and play with it a lot =D

Homework:
Take ten long exposures. Take fifteen fast exposures.

Last Weeks Homework (Aperture):


Sunday, September 23, 2012

Knit Casting On

Here is a link to the YouTube video on how to cast on. Sorry for poor video. My computer needs more space so I need to buy a flash drive just for pictures and such.


Thursday, September 20, 2012

Frozen Yogurt Blueberries

Ready to get messy? Well you can either get messy or spend a lot of time with toothpicks.

Ingredients:

  • (thawed) Frozen Blueberries
  • Yogurt (of your choice)
  • Cookie Sheet
  • Wax Paper
STEP ONE:

Thaw blueberries and place out. Put some yogurt in a bowl. Get out cookie sheet and cover with wax paper.

STEP TWO:

There are two options for this:

  1. Roll the blueberry around in the bowl till well covered and place on cookie sheet till full or desired amount.
  2. Take a toothpick and stab the blueberry. Roll it around bowl till well covered and place on cookie sheet till full or desired amount.
STEP THREE:

Place in freezer for two hours. Enjoy!

Next Week:
Fudge

Wednesday, September 19, 2012

DSLR Camera Tutorial (Aperture)

What we will be learning over the next couple weeks is the exposure triangle which is made up of ISO, Aperture, and Shutter Speed.

Some definitions to give you a basic understanding.

Aperture is what lets so much light into your camera.
Shutter Speed controls the amount of time the shutter is open.
ISO is the amount of sensitivity to light.

Lower aperture is more light. Look at this weeks homework on next weeks post for some examples.

Homework:
Take pictures of the same thing with different aperture and see how the picture changes. Record these changes. Don't look for very pretty picture composition (we will learn about composition later) just learn what the aperture does for the photo not caring about ISO and Shutter Speed just yet.

Next Week: 
Shutter Speed

Homework from last week:

Selective Color

Effects: High Key

Manual

Macro

Manual

Manual

Macro

Auto

Manual

Effects: Night Vision

Auto

Manual

Tuesday, September 18, 2012

diy Peppermint Mocha Creamer

9-18

Today I decided to make my own Peppermint Mocha Creamer since I went through my store bought bottle very very quickly. I haven't quite perfected it yet but I think I am close and when I'm done I will put actual measurements for you. Here is what I did today.

Ingredients:
  • Half and Half
  • Milk (I used Skim)
  • Sugar
  • Chocolate Syrup
  • Peppermint Extract
  • Dropper


STEP ONE:

Poor the Half and Half into the container like below.


STEP TWO:

Add chocolate syrup. And a drop of peppermint extract.


STEP THREE:

Mix together.


Pour into glass. It wasn't as good as I wanted so I added two drops peppermint. Add a spoonfull of sugar. And a splash of milk and it was better. I'll work on a final recipe in a couple days once I run out of this mixture.

9-19

IT HAS BEEN COMPLETED!!!

I finally figured out how to make it (it probably is easier just to go buy it but I wanted to make it and it's really good).

Ingredients:

  • (1/2 cup) Half and Half
  • (1 cup) Milk (I used Skim)
  • (1 tbs) Sugar
  • (3 tbs) Cocoa Powder
  • (40 drops) Peppermint Extract


STEP ONE:

Pour in the milk and half and half.


STEP TWO:

Add cocoa, sugar and peppermint.

STEP THREE:

Mix together.

STEP FOUR:

Enjoy!